Friday, August 28, 2015

SSS September Card Kit: Pastel Balloons


Using two designs from the 6x6 paper from the kit, I cut a 5.25 x 1 inch piece of the bow-tie design, and a 4.25 x 3.25 piece from the balloon design.  I matted the balloons to a 4.25 x 3.5 piece of blue card stock from the kit.  I used the same blue card stock cut 5.25 x 4 inches and adhered to the white card base.  I then adhered the bow-tie strip to the right side of the card front.  I popped up the matte piece with the balloons with foam tape before attaching to the right front.  To finish off the card, I found some enamel hearts in my stash and scattered some across the front.

Thursday, August 27, 2015

SSS September Card Kit: Celebrate Birthday

I've made another card from the SSS September Card Kit, using another of the acetate sheets.
Cutting one of the 6x6 sheets included in the kit down to 5x3.75, I adhered it at an angle on my white card base.  I then adhered the acetate sheet on top at a different angle, by running my tape runner just on the corners of the sheet.  The tape doesn't appear to be noticeable, unless you know it is there and and are really looking for it.

To finish the card off, I stamped the let's celebrate from the SSS Birthday Bits stamp set included with the kit in Tuxedo Black Momento ink, and added several sequins to add a little bling.


The photo doesn't show the colors of the sequins very well--there are aqua, mustard, pink, and orange sequins scattered across the card front.

I think I'm going to continue making cards from this kit over the next few days, to see how many different ones I can come up with!

Another card from the SSS September Card Kit

Thought I'd try the gesso with the stencil that was included in the Simon Says Stamp kit.  I didn't do real well with it, especially in the middle of the card stock strip I was putting it on.  So...I covered up the middle with my sentiment.  I think the card turned out pretty well, considering my mistakes!

I used the gesso and the stencil that was in the kit, and spread it on a 5.25x2.25 inch piece of the light green card stock I had left from my first card.  After letting it air dry, I adhered it to my white card base.  I then stamped the sentiment from the SSS Birthday Bits stamp set included in the kit, die cutting it with a Spellbinders distressed edges die.  I outlined the sentiment with my Pigma micron pen in black, and attached the sentiment with foam tape to make it pop.  I finished off the card by adding a few green and black sequins.


The photo doesn't do the sequins justice.  The green sequins are a little brighter in the photo than in real life, and the two dark sequins are both black and are identical to each other.

Wednesday, August 26, 2015

SSS September Card kit finally arrived!

I've been getting the Simon Says Stamp Card Making Kit for several months now, and really love all the new ideas I've been getting.  However, I've been a little lax on posting to my blog as my husband and I have been spending a lot of time camping this summer, and there is only Wi-fi at the office and clubhouse.

We're home for a few days, and my September 2015 Card Kit has arrived!  I've already made my first card from the kit, and thought I'd show how it turned out!

The kit came with some acetate sheets in several colors, each with a different design on them.  Never having worked with acetate sheets before, I decided to make a simple card using one.


I cut the green backing card stock (from the kit)  at 5.25 inches by 4 inches, to leave a little of the white card base showing.  I cut the wood grain with white triangles paper (one of the 6x6 papers included in the kit) slightly smaller than the green, and then attached one of the green acetate sheets with silver brads. I then attached the whole topper to the card base with foam tape to pop it up a little.  Super simple card to make!

Thursday, May 28, 2015

Using liquid masking--Day 3

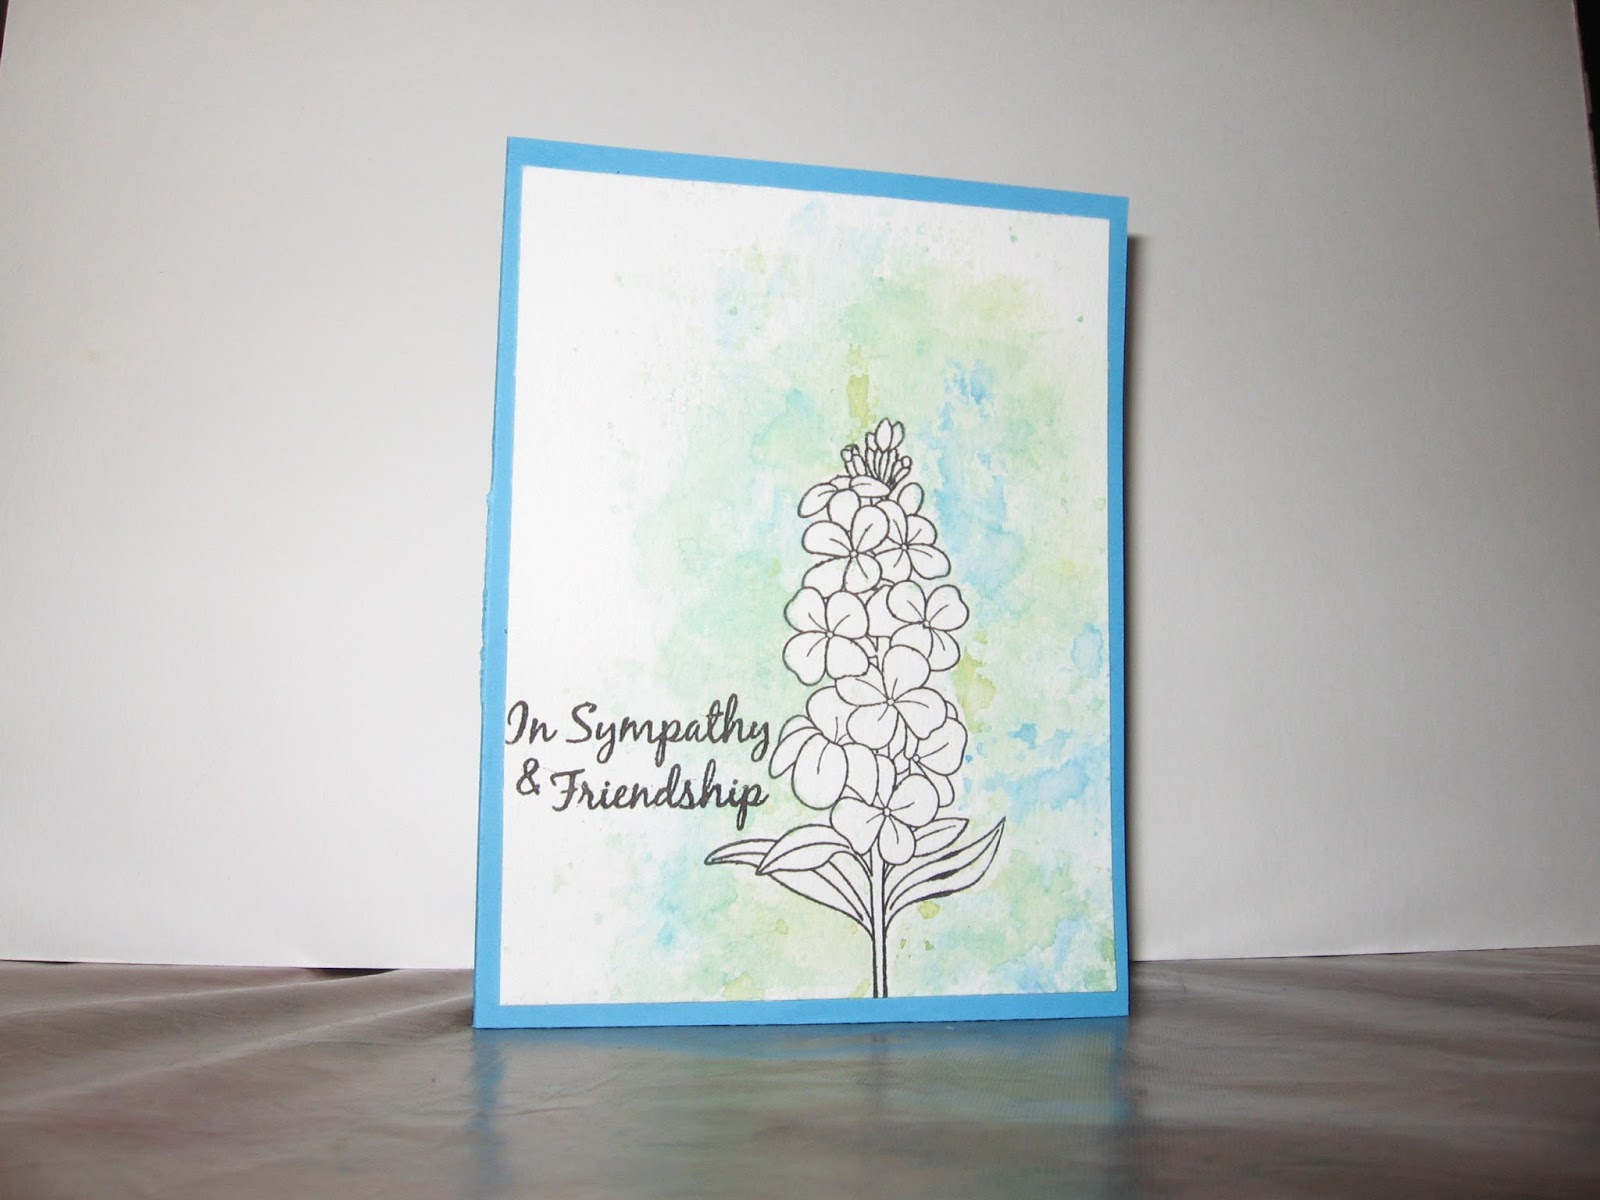
I've never tried liquid masking before, but I got out my rubber cement and an old paintbrush, and gave it a try.  I first stamped the flower on the watercolor paper, and then attempted to paint over it with the rubber cement.  Not as easy as you might think.

My first problem was the brush.  While I thought it was quite a small brush, it was actually a little larger than it should have been, and I had a little trouble covering the flower without going too much out of the lines.

My second problem was the background.  I decided to use my distress ink markers, scribbling them on an acrylic block, spritzing with water, smearing a little together with my finger, smooshing the block onto my paper.  There was a little too much water on the block, I think, and when I lifted it to smoosh, it ran all over and didn't look as good as I had imagined it.  I blotted the paper with a paper towel, then tried again, this time using fewer colors and a lot less water.  This seemed to work better, and actually gave a little depth to the background.


I rubbed off the rubber cement when it was dry, and discovered I hadn't covered the stamping as well as I had thought, and there were little spots where the watercolor had gone through.

Overall, I think the project came out pretty well, and once again I have discovered several things I should not do the next time I attempt this, as well as a couple of things that I liked. 


Wednesday, May 27, 2015

More masking paper lessons

Well, this didn't go as well as I had hoped.  I die cut a hello from my masking paper, and then tried stamping with little tiny flowers and leaves in the negative area.  Apparently, my hello was too small, and you couldn't tell there were flowers and leaves.  It was more like green and blue blobs.  Then, while removing the mask, I somehow managed to smear blue all over everything.  That card took a quick trip to the waste basket, and I tried again with some little dots.  That didn't work, as they didn't define the edges enough to see what the word was.  That was it for the negative mask, it didn't survive the effort.

I then just put the positive die cut on the front of a card, then just used some Distress Inks to blend around it.  That actually turned out fairly well. 


I'm going to try this technique in the future with a larger die, like the distressed rectangle I used for day one, as soon as I get a little more time.  I'm a little behind on homework for this class, and I want to try some of the other masking techniques before I go back to this one. I'm sure the next time will be much better, as I now know what "not" to do!

Tuesday, May 26, 2015

Maskerade Online Card class--Day One

Today's lesson was using masking tape and masking paper on your cards.  My first card for this class included using both the positive and the negative from a sheet of masking paper that had been die-cut, as described in Debbie's video.  I used a die from the Spellbinders A2 Distressed set.

After die cutting the masking paper, I used the negative (using the outside of the cutout) to mask off the card front.  Using Hero Arts Field Greens ink, I inked the opening along the edges.  I then added a little Distress ink Peeled Paint to add a little interest.  I stamped the word congratulations in Momento Tuxedo Black, from My Sentiments Exactly Graduation Innies and Outies.

Before peeling off the mask, I inserted the cut out back in place.  When I peeled off the outside mask, the inside (positive die cut) was in perfect position.  This one tip alone was worth the class price!

Using WPlus9 Spring Blooms, I stamped several different flowers and leaves around the masked off area.  When I peeled off the mask, I discovered that some of the mask stuck to the card, and spent several minutes carefully rubbing off the remaining mask residue.

The card looked like it was missing something, so I stamped a couple of more flowers with Memories Mango ink, used the matching die to cut them out, and popped them up on the card with foam tape. I'm considering adding a few enamel dots to add a little something more, but haven't decided if that would just be too much, or just right.  I'll give myself a couple of days to think it over.


Thursday, March 26, 2015

Day 6--Using Dies to make a shaped card


Here's my interpretation of a shaped card.  I used a curvy border die on the edges of the card, and stamped the front with caution signs and traffic cones, coloring them in with Copic markers.  I stamped a couple of construction machines, colored them with Copic markers, and cut them out with the matching dies to place on the inside.  These were all from Taylored Expressions "Dig In" set, as was the Dig In stamp on the inside.  The Happy Birthday on the inside was from the Inky Antics "Cupcake Birdy" set.

Sunday, March 22, 2015

Day 5-- Window Card


Using Shari's idea of the die cut window, I made a get well card.  I also used her idea of placing the image behind the window, with adhesive on its back, to allow perfect placement!

The front is popped up, which doesn't really show very well in the photo, but it is really nice in real life.  Very pleased with this card.

Cards from Day 2

I decided to try Yana's idea of using the negative image for my card front. I dug out the few floral dies I had, and laid them out on my card front.

 I also thought I'd try to put the craft foam behind it first, and cut them both out at the same time.  It sort of worked, but not very well.  If I try it again, I will make the foam the same size as the front, or make more of an effort to keep the  dies only on the parts of the front that has the foam behind it, as some of the dies were too close to the edge, and caused a few wrinkles in the card front.

After putting the image on the card base, I was not pleased at all.  I then stamped through the die cuts with the matching stamps, which I liked better.

Looking at  the die cuts I had left, I decided to use Kristina's idea from Day 4, and used them to make another card.

I really enjoyed trying out new ideas, and I'm sure I will do better the next time I make this kind of attempt!

Wednesday, March 18, 2015

Day 3, second card--Window Flaps


Another great idea for today's class--making a window flap to show the inside!  I used a sentiment from Art Impressions Sound Off Jean set.  I added some washi tape strips to add the color for the front.


On the inside, I added the figure that came from the set to add a little something to the card!

First card for Day 3--Fold out window


Lots of great ideas in today's class.  The first video, by Jennifer, really inspired me!
I used a flower type die, and cut a window in the folded card fronts.  I stamped a sentiment from Art Impressions Laughing Set on the front right.


On the inside I used the figure from that set, along with a sentiment from the Art Impressions Party Girls set.  I think it turned out pretty nice.  I had a few problems, but I don't think they're all that noticeable in the finished card.  This is going to be a birthday card for a girlfriend I've had for over 55 years, and the sentiment describes us to a T!

Monday, March 16, 2015

Stretch Your Dies Online Card Class

First day of the online card class, and already some really great ideas.  I particularly wanted to try the partial die cutting, so that is my first card.

I only have a couple of block type word dies, so used the "Thanks" die to make this card.  I didn't want to stamp a background, so just used a red paper behind the die cut.  There are a couple of mistakes, but all in all, I like how it came out.


I also want to try the die cutting of craft foam, but that will have to wait until I do some shopping!

Wednesday, November 05, 2014

Online Card Class--Holiday Card Workshop 2014

Just remembered there was an OnlineCardClass.com Holiday Card Workshop class that I wanted to take--and discovered it had started 2 days ago, on Monday.  I quickly signed up, but I'm a little behind.

When I started watching the videos, I saw that I didn't have the supplies that were used.  No problem, just used what I had on hand.  It won't look the same, but I'll get the ideas. 


I used some silver pigment ink to stamp snowflakes of various sizes (Lawn Fawn--Critters in the Artic) on a piece of blue cardstock. I don't have any embossing paste, and only one stencil I was given and haven't tried.

 I had originally tried to add some color to the card stock with dye ink spritzed with some water at the top, but it isn't really noticeable. When the ink was dry, I adhered it to a white card base.

I then stamped the moose and got out my Copic markers and colored it in (stamp is from the same set), and cut it out using a matching die.  This is more time consuming than the stamping and embossing that was used in the video, but I just got the stamp set and matching dies and wanted to use them. : )

I didn't do any fancy coloring, just a base coat and a single darker color added to give it a tiny bit of shading.

To finish the card, I tied a piece of gray baker's twine around the card, and stamped a Merry Christmas at the top (the stamp is probably from a Fiskar's stamp set, but I'm not sure which).
 
.

Tuesday, September 30, 2014

Copic Markers for Card Makers Day 7

Another interesting day.  Sandy showed us different ways of coloring things with white, red and black.  I tried out the white using grays for the shadows on my flower.  The first one I think the darkest gray was too intense, so I did it again with a slightly less deep gray, and liked it much more.  I also had a little trouble with the reds, as my reds tend to be more toward the pinks, but I tried with what I had. 

I'm pretty pleased with how they turned out.  I also experimented with some different greens on the leaf and stem, and I thought that was interesting, too. 

Sandy did a bonus video, and I was really pleased with how she taught the flicking method.  She demonstrated what was meant by sweeping, and I also noticed she uses the side of her marker when she flicks.  I'm going to have to try that later.