Thursday, May 28, 2015

Using liquid masking--Day 3

I've never tried liquid masking before, but I got out my rubber cement and an old paintbrush, and gave it a try.  I first stamped the flower on the watercolor paper, and then attempted to paint over it with the rubber cement.  Not as easy as you might think.

My first problem was the brush.  While I thought it was quite a small brush, it was actually a little larger than it should have been, and I had a little trouble covering the flower without going too much out of the lines.

My second problem was the background.  I decided to use my distress ink markers, scribbling them on an acrylic block, spritzing with water, smearing a little together with my finger, smooshing the block onto my paper.  There was a little too much water on the block, I think, and when I lifted it to smoosh, it ran all over and didn't look as good as I had imagined it.  I blotted the paper with a paper towel, then tried again, this time using fewer colors and a lot less water.  This seemed to work better, and actually gave a little depth to the background.


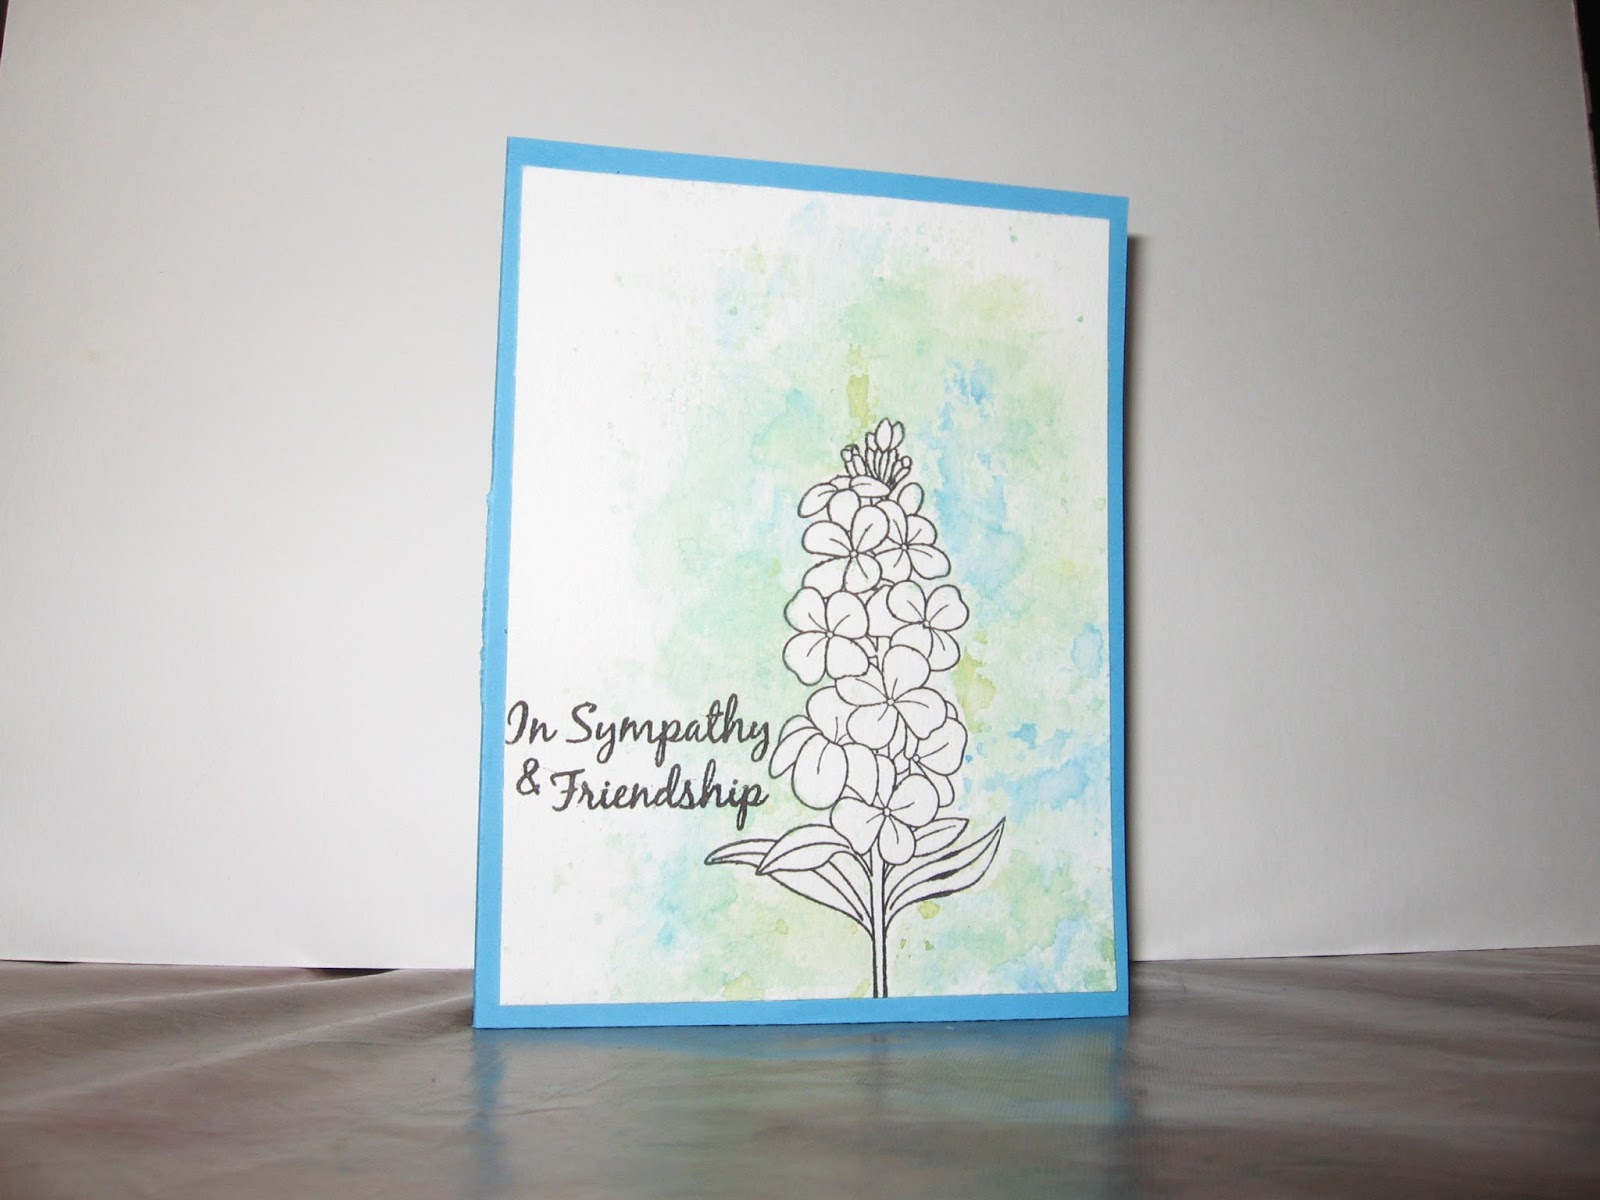
I rubbed off the rubber cement when it was dry, and discovered I hadn't covered the stamping as well as I had thought, and there were little spots where the watercolor had gone through.

Overall, I think the project came out pretty well, and once again I have discovered several things I should not do the next time I attempt this, as well as a couple of things that I liked. 


Wednesday, May 27, 2015

More masking paper lessons

Well, this didn't go as well as I had hoped.  I die cut a hello from my masking paper, and then tried stamping with little tiny flowers and leaves in the negative area.  Apparently, my hello was too small, and you couldn't tell there were flowers and leaves.  It was more like green and blue blobs.  Then, while removing the mask, I somehow managed to smear blue all over everything.  That card took a quick trip to the waste basket, and I tried again with some little dots.  That didn't work, as they didn't define the edges enough to see what the word was.  That was it for the negative mask, it didn't survive the effort.

I then just put the positive die cut on the front of a card, then just used some Distress Inks to blend around it.  That actually turned out fairly well. 


I'm going to try this technique in the future with a larger die, like the distressed rectangle I used for day one, as soon as I get a little more time.  I'm a little behind on homework for this class, and I want to try some of the other masking techniques before I go back to this one. I'm sure the next time will be much better, as I now know what "not" to do!

Tuesday, May 26, 2015

Maskerade Online Card class--Day One

Today's lesson was using masking tape and masking paper on your cards.  My first card for this class included using both the positive and the negative from a sheet of masking paper that had been die-cut, as described in Debbie's video.  I used a die from the Spellbinders A2 Distressed set.

After die cutting the masking paper, I used the negative (using the outside of the cutout) to mask off the card front.  Using Hero Arts Field Greens ink, I inked the opening along the edges.  I then added a little Distress ink Peeled Paint to add a little interest.  I stamped the word congratulations in Momento Tuxedo Black, from My Sentiments Exactly Graduation Innies and Outies.

Before peeling off the mask, I inserted the cut out back in place.  When I peeled off the outside mask, the inside (positive die cut) was in perfect position.  This one tip alone was worth the class price!

Using WPlus9 Spring Blooms, I stamped several different flowers and leaves around the masked off area.  When I peeled off the mask, I discovered that some of the mask stuck to the card, and spent several minutes carefully rubbing off the remaining mask residue.

The card looked like it was missing something, so I stamped a couple of more flowers with Memories Mango ink, used the matching die to cut them out, and popped them up on the card with foam tape. I'm considering adding a few enamel dots to add a little something more, but haven't decided if that would just be too much, or just right.  I'll give myself a couple of days to think it over.